Week 1- Self Study
Hello there weary traveler.
In these devlogs, you will be seeing my creations throughout the semester. Whether it becomes better or worse, i hope you enjoy my creations.
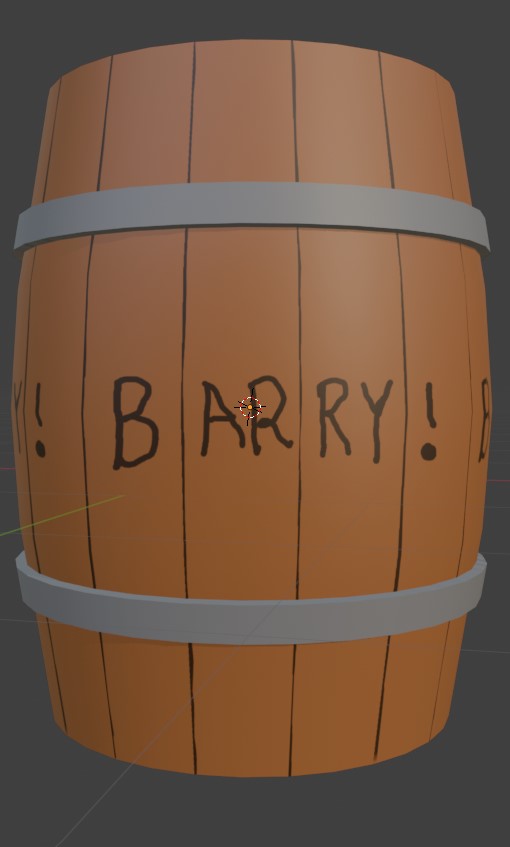
First I briefly followed the Blender Tutorials from Blender themselves (will have to watch them again) to gain the fundamental skills for the program. Then went into creating a Barrel with the help of Studio Kavod's Tutorial. I created the very basic barrel just to get the gist of the program and i also do not have access to a drawing tablet currently so do expect badly drawn textures on the models. Here is a picture of my version of the barrel, named Barry.
It started off as a cylinder which had the middle of it extended out to get the 'barrel' look. Then we made some cuts within the barrel where there are two parallel lines on the bottom and top side of the barrel using the loop cut feature. I then made some indents in the top and bottom side of the barrel. I then extruded those lines out to make the rings of the barrel and thats it for the basic model of the barrel. We then went into the texture making for the barrel (Yippee!). We first made the base barrel be brown and the rings to be silverish. Then with a mouse, drew those lines and the name on the barrel. Thats the simplified process of the desgin of the barrel.
For my first portfolio model, i initially had the idea of the chess board in franklin sqaure within the city. But i could not find any pictures of it within the internet, but within my research i found that there is a different landmark within the franklin square that i could model. The Two Islands landmark.


Image Sources:
https://groundscrews.com.au/project/two-islands-sculpture/
https://www.creativespaces.net.au/space/franklin-square
https://www.expedia.com.au/Franklin-Square-Hobart-Central-Business-District.d608...
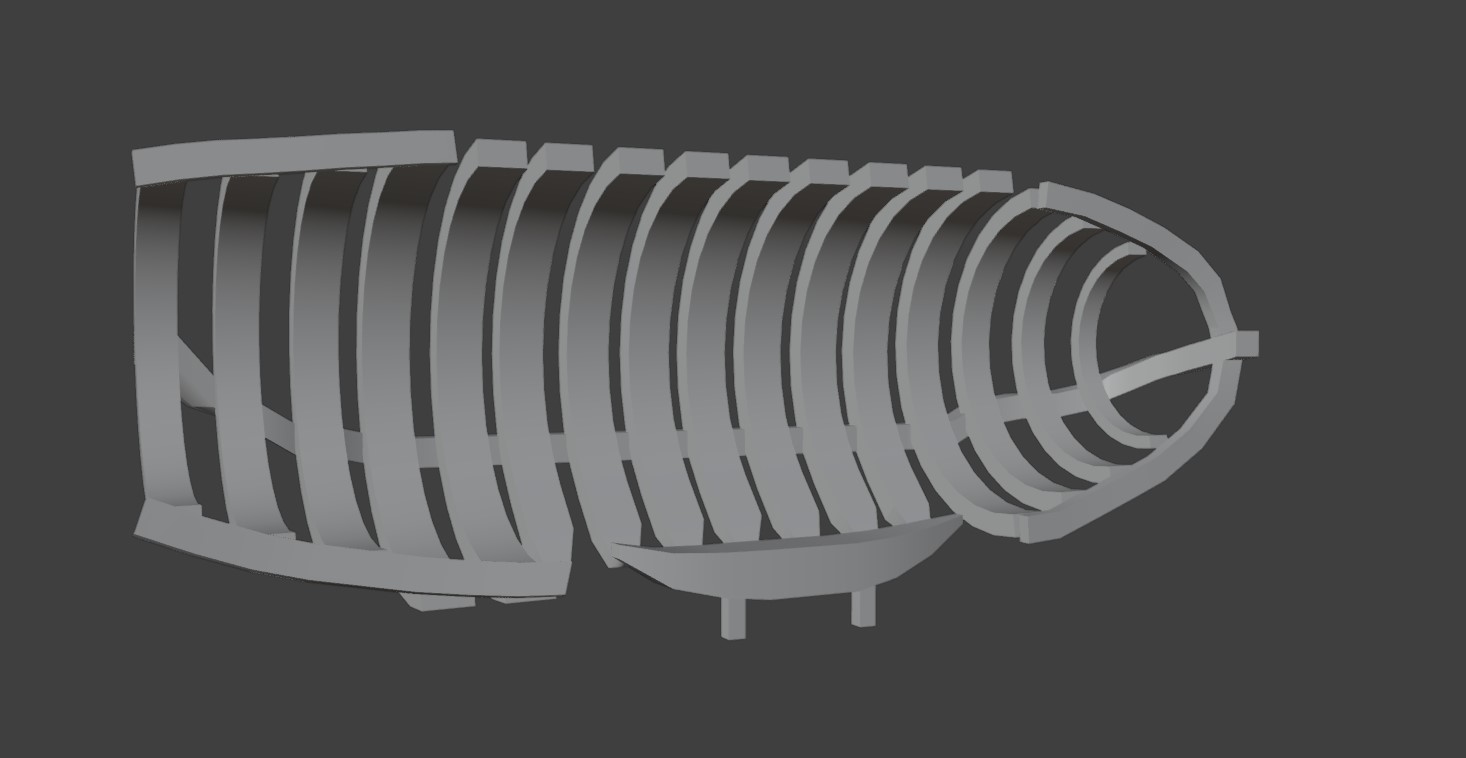
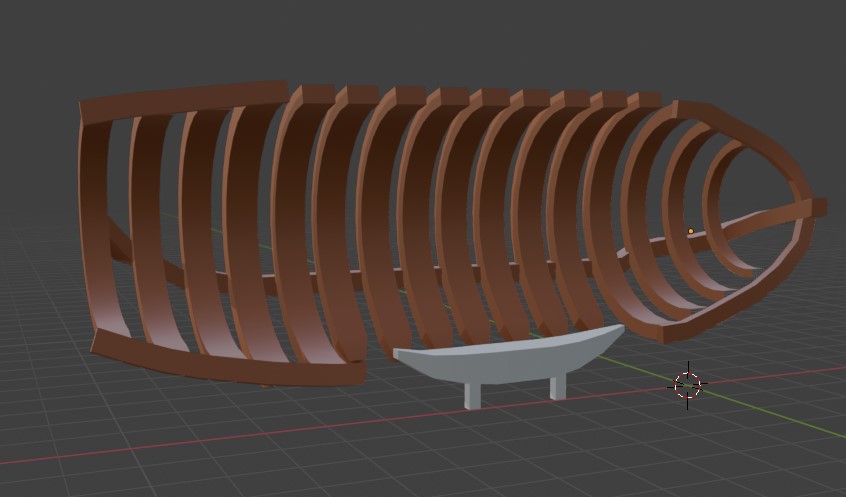
To be honest, I did not realise this landmark existed until i randomly found it. Now that i have found what i wanted to model, i went about creating the model of this. It is still pretty rough but i might eventually go back to it and clean it up a bit. But here is the draft of the model with and without texture.
I first started with a cylinder on its side and condensed it until it looked like one plank of the wood of the structure. From there, i duplicated the plank into sixteen planks which is the amount that i counted from the pictures (i didnt go out for this). From there, i adjusted some of the planks to match those in the picture by changing the dimensions and the scale of the planks. And then, i added the wood boards that are located from the front on the left and right side of the model and bent the boards to match the landmark as much as i could as well as make the long wood part of the back of the landmark by creating a cube that was extended to match the length and then bent it to match in the picture(very annoying). And to the finish the base model, i created the bench at the front by creating a cube which was scaled horizontally and pulled out legs from the bench itself. Now it was time for the texture making, which started off with using the paint bucket to colour everything with brown and then changed the bench to a light silver colour to match the model as close as possible (feeling a bit of deja vu from the barrel). That was the simplified process of the model. In the next self-study, i will provide pictures of the actual process so it dosent sound like im pulling it out of nowhere but i hope you like the models provided today.
Leave a comment
Log in with itch.io to leave a comment.