Week 4 - Tutorial
Hey Folks, welcome to the week 4 tutorial work showcase.
Today we had worked on nav meshes which implements navigation for the movable objects.
In this tut, my work from the self study wasnt cool enough to use so i used the premade level for the navmesh tut.
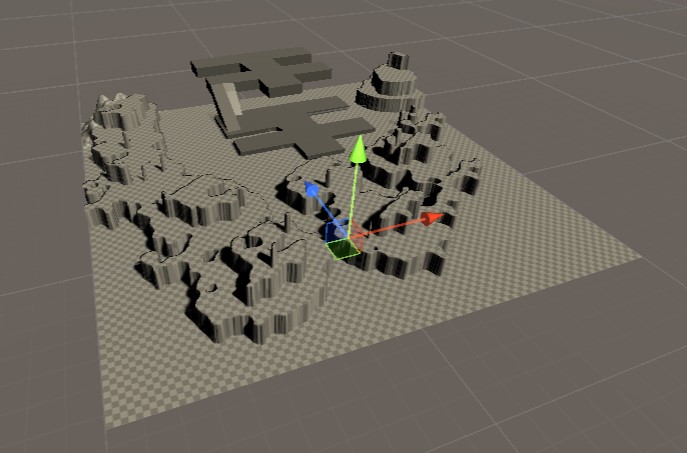
To get started, we first had to apply the nav mesh on the area
by adding a NavMesh Surface object as well as the navigation window
that allows for editing the navmesh.
Without NavMesh:
With NavMesh:
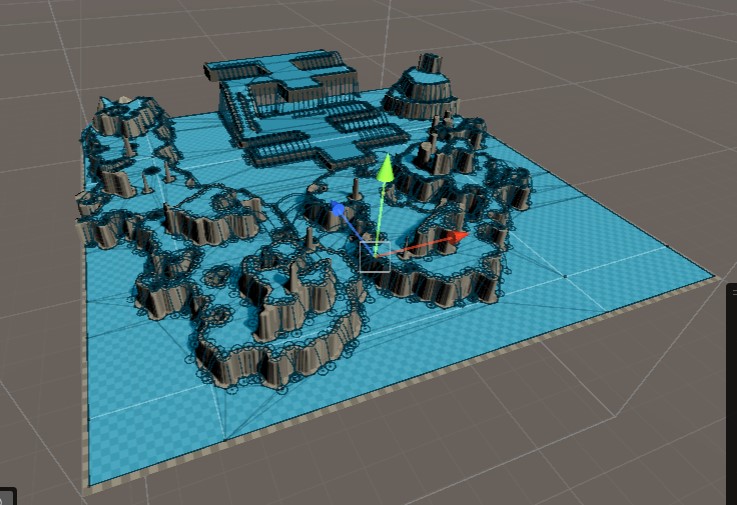
Then we had some fun with changing values of the navmesh so that we can see how each value changes the navmesh.
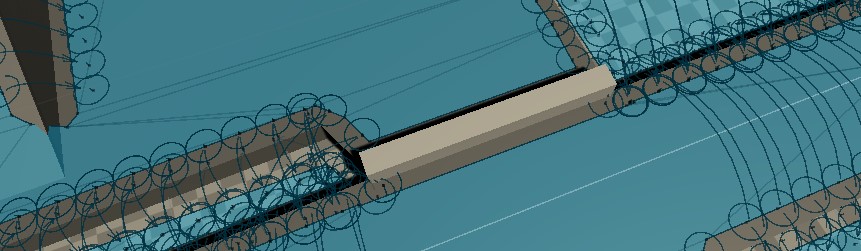
Then we learnt about navmesh agents which allows playable/non-playable character to traverse the area especially the jumps that can be found within the area. but the navmesh agent wont work by itself so we learnt about raycasting. Then we wrote the necessary code for raycasting and with enough lines, we got the player object to move where the mouse click occurred. Now we want to have obstacles within the nav mesh which can block the trajectory of the player object. we were accomplished with adding the navmesh obstacle component on a cube.
The Obstacle:
And here is the exercise portion of the tut:
We were instructed to:
- Add a moving obstacle
- make an enemy that both spawns on and at the mouse click and follows the players location
- make the player agent use its animation while moving
The moving obstacle was a similar process to make a blocking obstacle but just make it non static and change a few settings and here is the result. the movement was done through animation.
With player animations, there were just some tweaks and code writing that were needed to make it happen like changing the parameter of the animation to be floats so that it changes based on speed of the player and the lines of code to work with the float parameter.
Here is the bulk of the exercise, adding an enemy to the level. I simply made a red cylinder to represent the enemy (classic) and placed the necessary components (rigidbody, cynlinder collider and navmesh agent). Then using some of the raycast code from the player, i was able to make enemy spawn from a mouse click.

and for the second part, we will have the enemies follow the player (in this instance, go to the player) from spawn.
this was done with the a enemy movement script
as well as some modifications to the spawning code. here is the final result.

i wasnt able to get the prediction code done on time but hopefully i can code it in during the semester to at least learn on how it works but here it is. That is the tutorial work done for this week. we essentially made a navigatable area with pc/npc objects that were able to interect and move within the area when it comes to the floor and the obstacles as well as add animation to the character. Also learnt about Raycasting, NavMeshes and its components and the settings that can change how intractable the area is.
Thanks for reading and ill see you in the self study.
References:
Leave a comment
Log in with itch.io to leave a comment.