Week 5 - Self Study
Hello folkerinos, and welcome to this self study about lighting and shadergraphs. Here we learnt about the how to do lighting within the world as well as how to do lighting inside through no sunlight. With shadergraphs, we were able to make objects look cool through different effects. We first learnt about lighting using Brackeys tutorial on lighting.
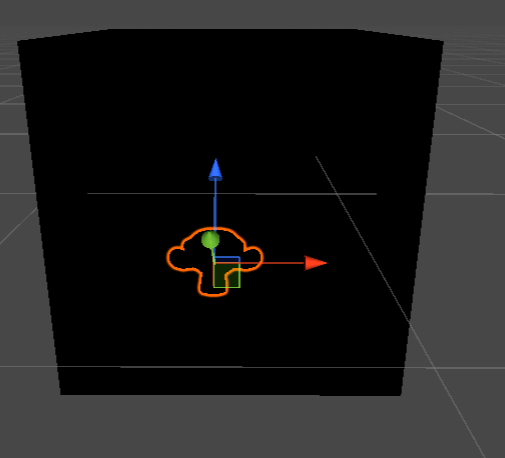
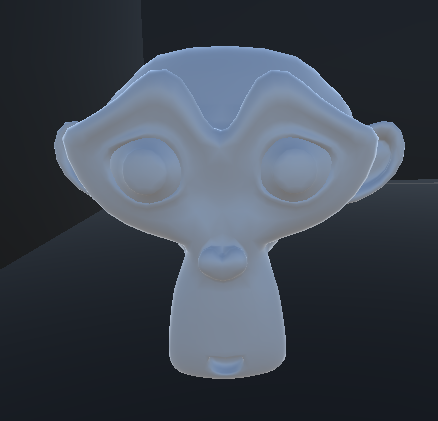
For the tutorial, we had pre-made models of a monkey head named suzanne and a box which can be seen through outside to in. We initially rid of all light sources as being indoors with no way for light outside to come in would be how it works. Then we added two panels to the left and right side of the box with the monkey head placed in the middle with the panels acting as the light sources within the room. We then made materials which were assigned a colour and use the emission option which made them into light sources by shining light like a glow. we then baked lighting into the scene and with some more tinkering we have made a cool looking room.
Before:
After:
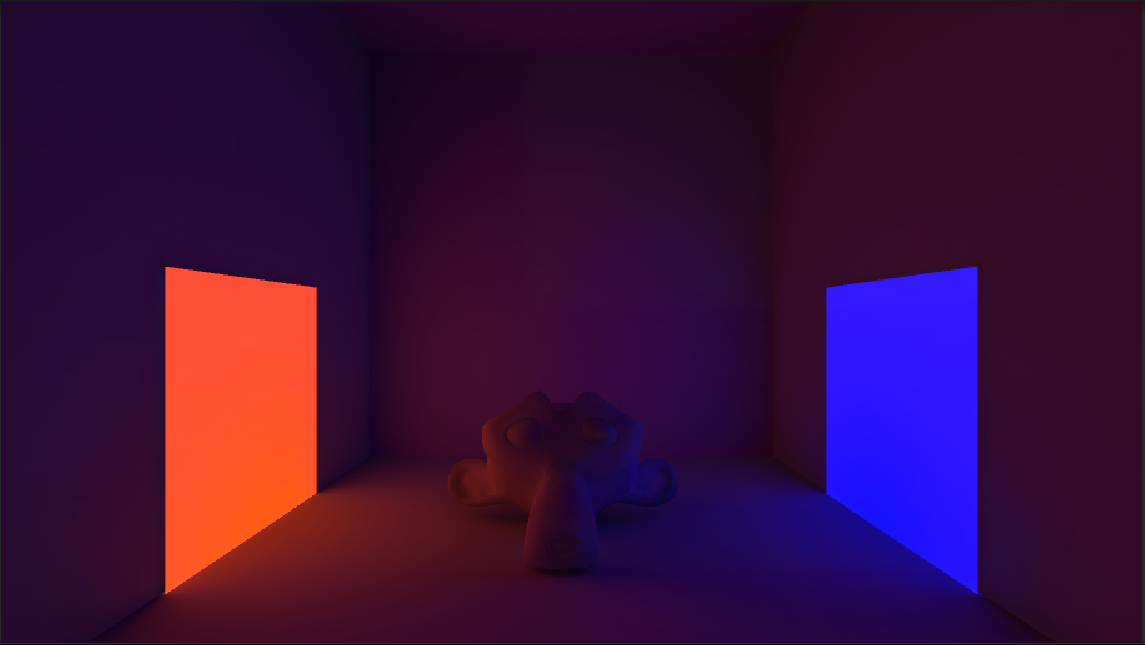
thats the extent of the tutorial on lighting. It turned out pretty good and really the like the merging of the red and blue colour with purple being the result throughout the room as well.
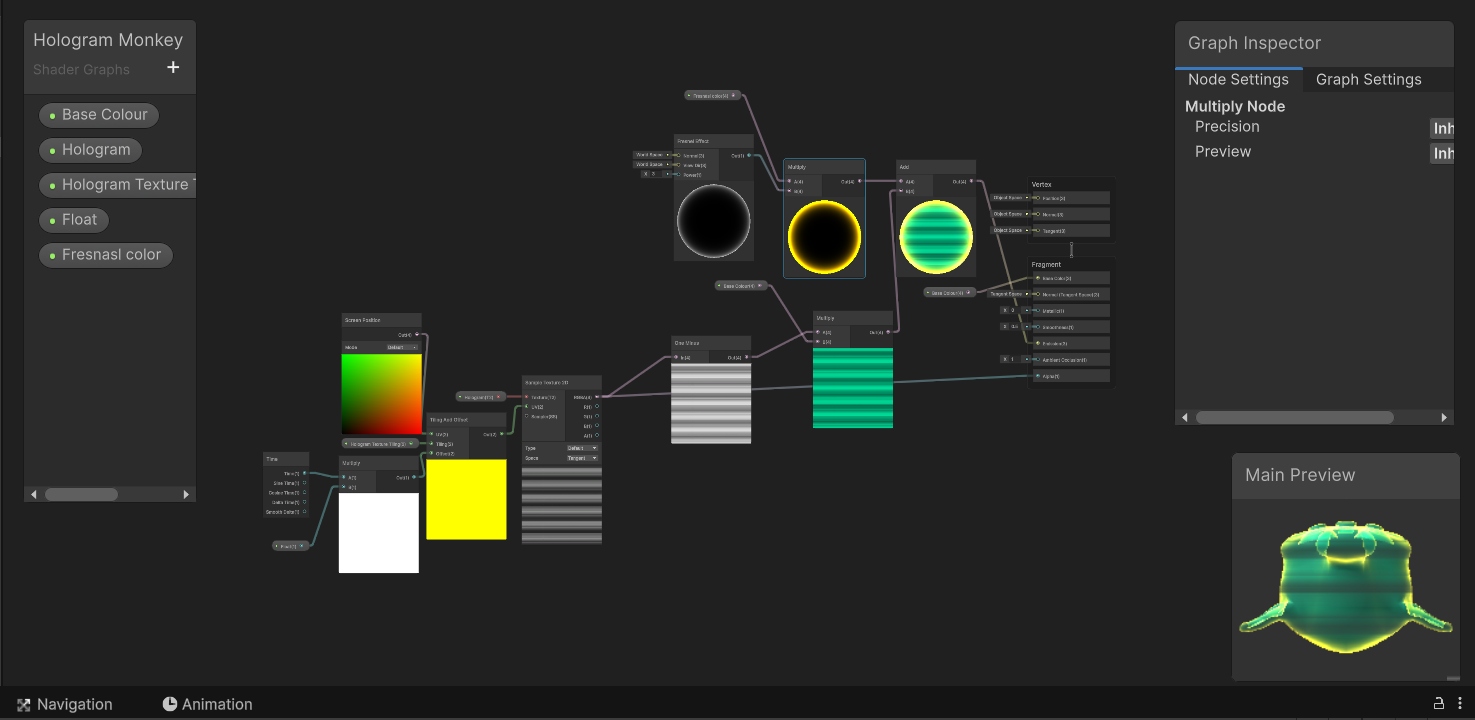
We next followed the shadergraph tutorial which i was excited for as this was a new feature i had never tried until today. In this tutorial we also used suzanne to experiment on and this time we only the monkey head. But to make the effects be seen clearly, i added a black box around the monkey for the effects to come through (deja vu???). For the initial tutorial, we made a glowing suzanne head for the intro to shadergraphs, the process of shader graphs is attaching a lot of nodes together while changing various values to make the desirable outcome so instead of writing the process, i thought i would show the image of the shader graph and summarise what the hell is happening on screen. i did two extra effects for this self study, the dissolve effect as well as the hologram effect.
Here is the initial tutorial shader graph:
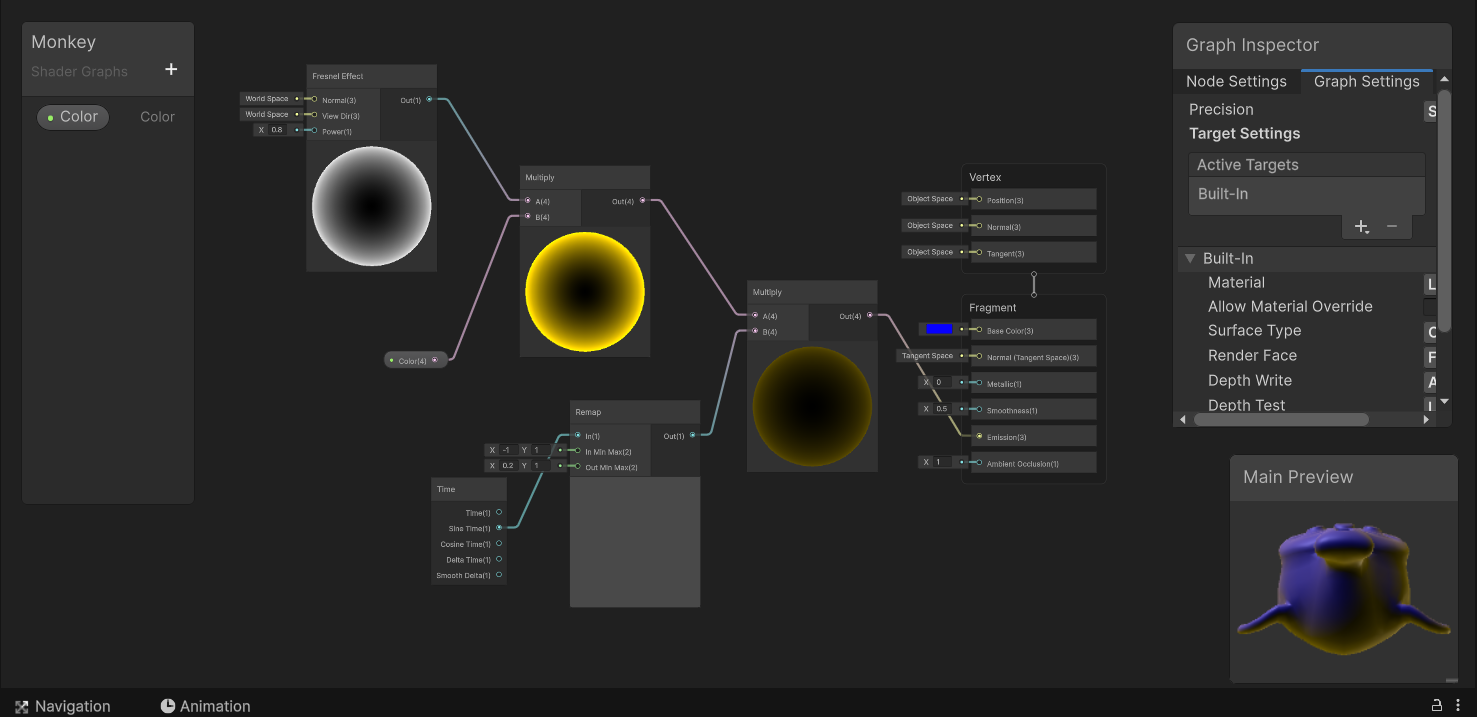
As you can see, its just connecting building blocks together to get the desirable effect. on the left side of the tree you can see two alternate routes, one controls the glow effect which is combined with the yellow colour and on the other side you can see time and remap, this controls the timing of the glow effect. when we add both together, you get the yellow glow effect which is then connected to the main node which is the vertex and fragment labelled nodes.
Here is the hologram shader graph:
and here is the dissolve shader graph:
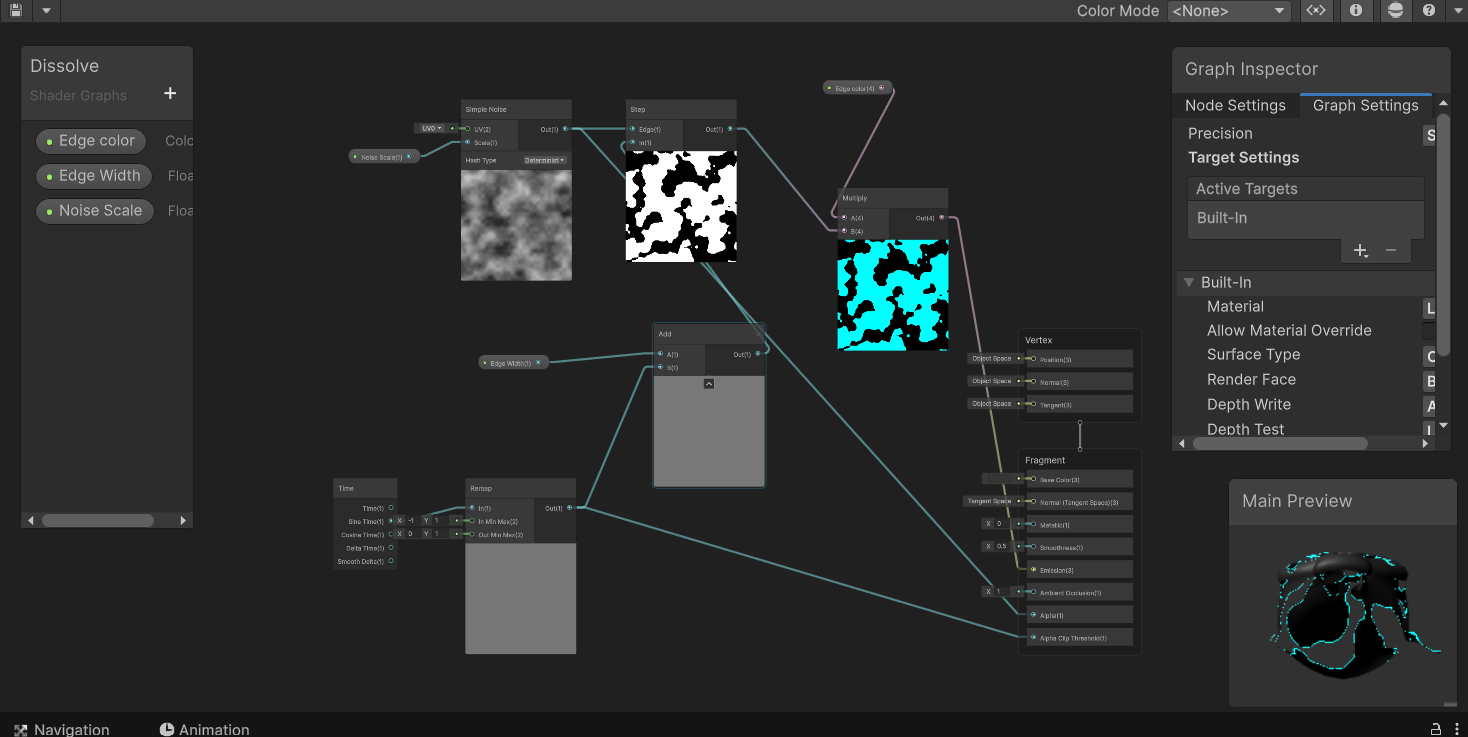
As you can see, quite easy to get started but a lot of experimentation that can go on. And now here are the results of the shadergraphs
Before :
After:
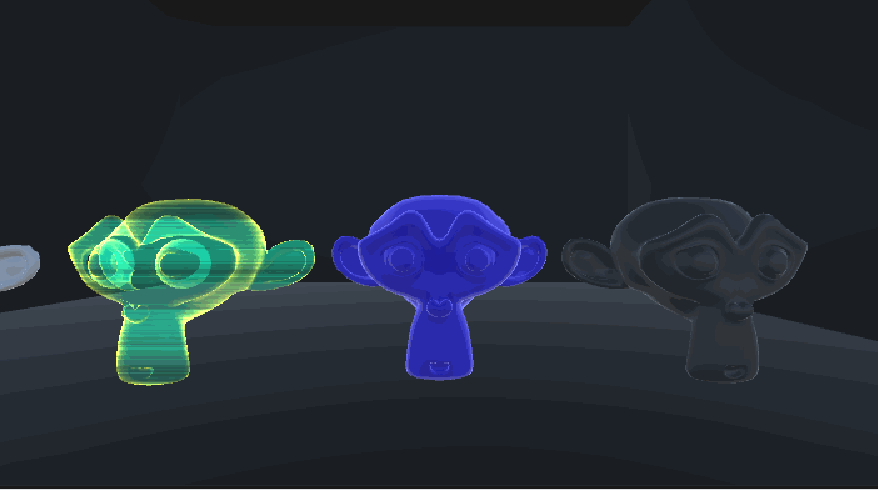
As you can see, the shader graphs work. The middle is the glowing monkey, left we got the hologram monkey and on the right we have the dissolving monkey. They are just Three Silly Little Monkeys.
So after all the learning we have done, we can now apply it to our scene. Now because of time constraints on my end, i didnt affect too many things on my scene but you can see there being a difference.
Before:
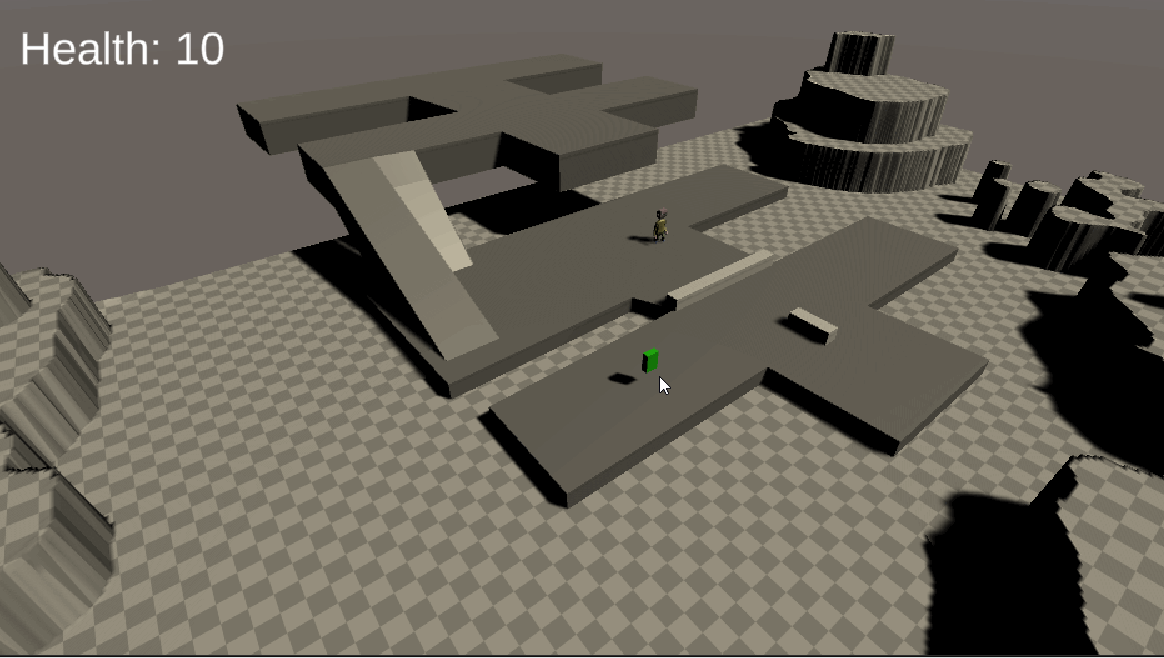
Here is the scene:
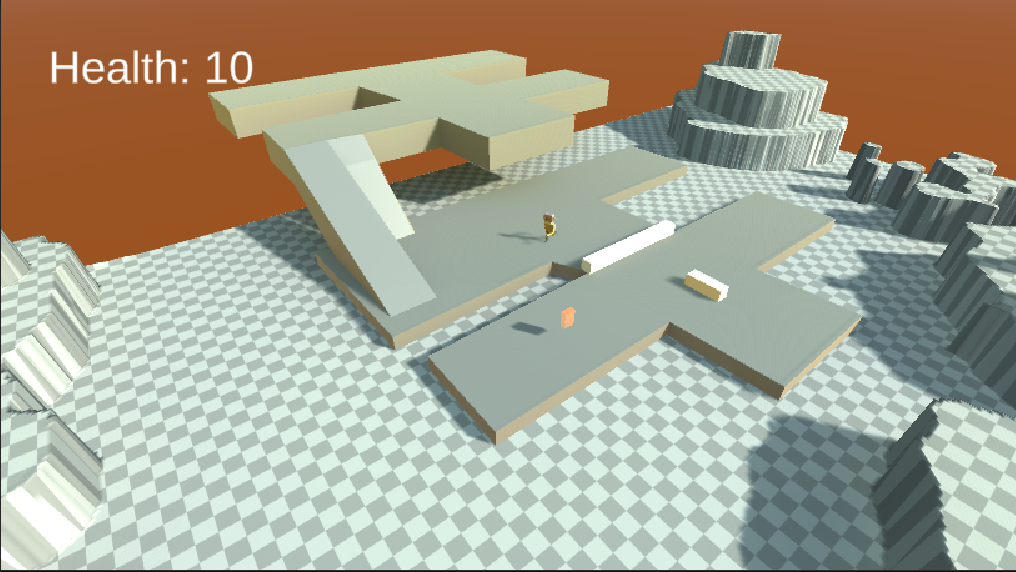
As you can see, the whole world is more bright now with the light being a brownish colour, with more shadows being present and the medpack not being green. Here i applied the hologram to the medpack which makes it look cool and with the lighting, i changed the skybox colour to be more vibrant and colourful as well as tweaked some settings within the lighting menu. After all the changes, i baked the lighting which resulted in this. hope you like it. Again, with external time constraints, i didnt get to go full out crazy with effects but i did enough to make it look different. But that is all for this self-study, hope you enjoyed it and see you in the tut devlog.
References:
Brackeys Videos:
Leave a comment
Log in with itch.io to leave a comment.