Week 6 - Final Personal Tut Devlog :(
Hello distinguished guests to our final devlog for our personal learning for this unit. This time we learnt about post processing as well as camera work specifically cinemachines. Post Processing allow for cool and crazy effects to appear as a filter for the camera which is pretty cool and cinemachine allows for more dynamic camera movements and just pretty cool camera work.
We are improving upon the scene that was worked on during the whole process by using these tools.
we started off with cinemachine work where we learnt to install the package that contains cinemachine. which then proceeded to deploying a cinemachine within the scene. Had some fun with configuring settings for the cinemachine like changing the degree of the view as well as making it third or first person. Here i did a third person camera that follows the character from behind.
Then we created a second cinemachine that holds a different view on the scene that can be changed into from the first camera. In this tut, we made into where if the player character is within a specific area of the scene, the camera would transition to that view when the conditions met.

We then turned the second camera into a dolly camera which follows the player with on a restricted track which is custom made by the user. Here i made a simple track just to see how it functions and to get familiar with how it works. You can also have it to where the camera activates when the player has reached a certain location.
Now a third camera, you should not have. Here we created a camera that follows a group instead of a individual object. Dont really like how this camera works but i understood its uses.
Post Processing is up next. We first created a post process layer which will serve as our global effect which will run the whole time. This will be the Vignette effect (watch gif for effect). With a few tweaks and settings changes, we can create this effect:
This next effect is only applied when the player enters the designated area which will apply the effect on the main camera overriding the previous effect. The effect darkens the camera view when the player enters the area. Here it is:
The third and last effect that we implemented was a custom shader that we created so that we know the process of creating one. In this effect, you can control the border of the camera and make it greyscaled. essentially your own version of a fade to black that dosent fully close unless specified. Here is how it looks like:
Thanks for reading, hope you enjoyed the personal rollar coaster that was this journey of my devlogs. i will see you within the project devlogs.
Here are the settings used for each of the cameras and the post processing componenets:
Third person 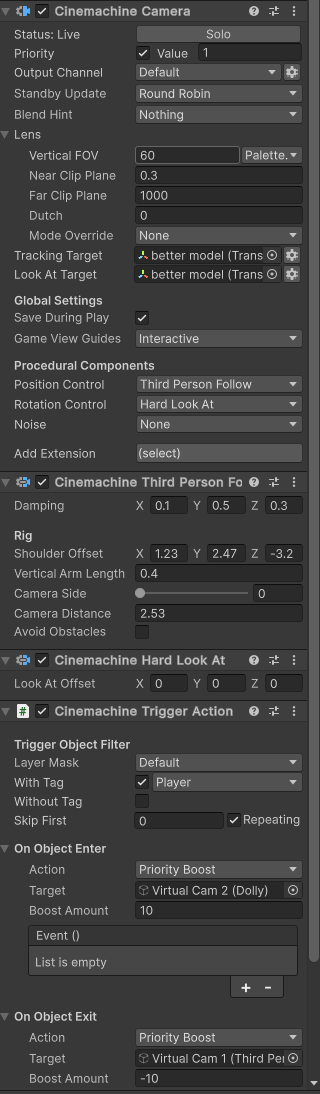
Dolly: 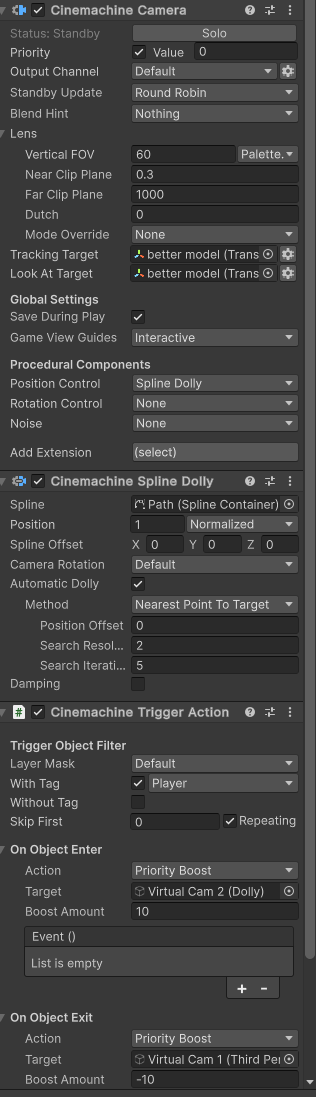
Target Camera: 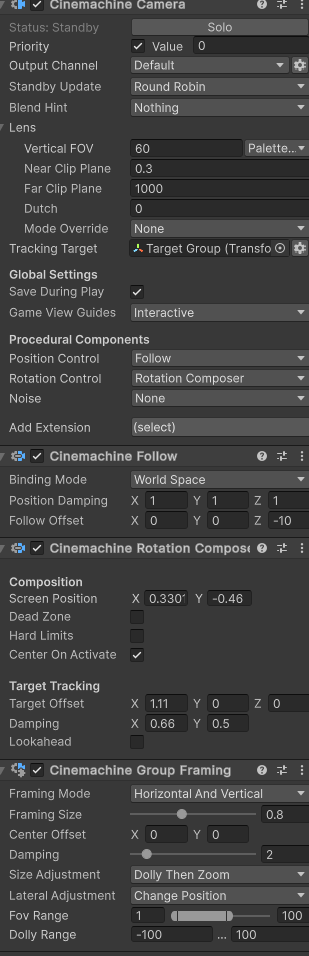
Target Settings: 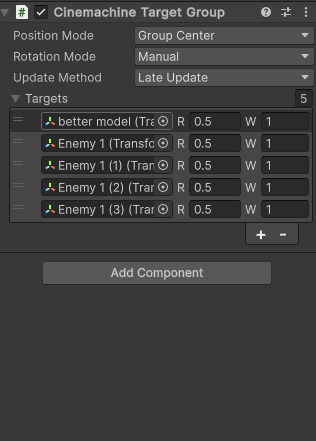
Spline settings 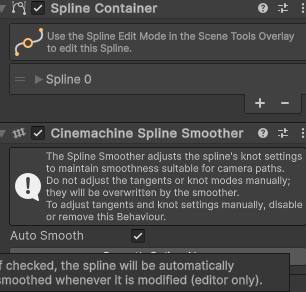
Post Processing within triggers: 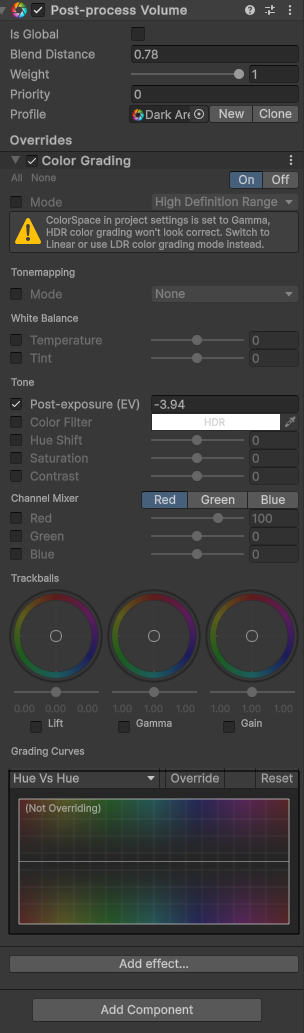
The Trigger For the Camera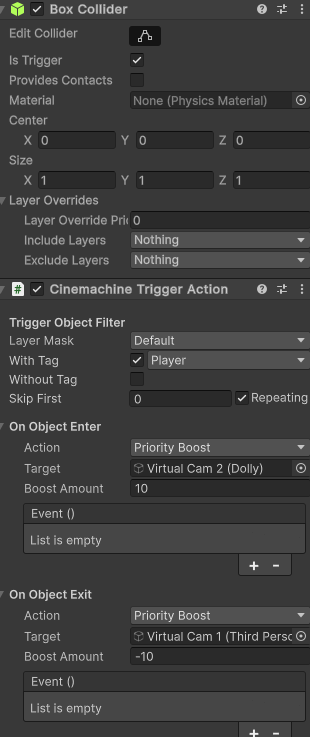
Leave a comment
Log in with itch.io to leave a comment.